
The Radiant Routine — Hair Care
Salon color is lovely. Salon prices, less so. The good news: most of what makes salon color look good isn’t magic — it’s method. Stylists follow the same sequence every time: test first, prep properly, work in sections, respect the clock, and care for the result. Skip any of those steps and you get the classic at-home outcomes — patchy color, fried ends, a bathroom that looks like a crime scene.
This guide walks through the whole process in order, answers the questions beginners actually ask (wet or dry hair? wash first? how soon can you shampoo after?), and flags the mistakes that ruin results — including the one safety step that is genuinely non-negotiable.
Quick note: the product picks in this guide include affiliate links — our full disclosure is at the end of this article.
The Quick Answer
For most beginners, the safest first color is a deposit-only or demi-permanent formula close to your natural shade: it can’t lighten your hair, but it’s forgiving, fades gradually, and skips the harshest chemistry. Apply permanent color and bleach to dry hair; apply semi-permanent color, toners and glosses to damp, towel-dried hair. Do a patch test 48 hours before every coloring session — even with a product you’ve used before — and a strand test if it’s a new shade. After coloring, wait 48–72 hours before your first real shampoo. And never, ever use hair dye on eyebrows or lashes.
First, Know Your 4 Types of Hair Color
The type of dye decides everything else — how you prep, how long it lasts, and how much can go wrong.
Temporary color
Coats the outside of the hair shaft and washes out in a few shampoos. The lowest-commitment way to experiment.
Semi-permanent / deposit-only color
Also coats the shaft (coloring conditioners and masks live here), with no developer, no ammonia and no lightening. Lasts roughly 4–12 washes depending on the product and your hair’s porosity. Because it only adds pigment, it can make hair darker or more vivid — it can never make it lighter.
Demi-permanent color
Uses a low-volume developer to slip a little color just under the cuticle. Blends grays rather than fully covering them, and fades softly over about 24 washes — no harsh regrowth line.
Permanent color
Developer opens the cuticle and the color forms inside the fiber. It’s the only type that fully covers stubborn grays and (with bleach or high-lift formulas) lightens. It’s also the type with the strongest chemistry — and the one where the patch test matters most.
The Golden Rule of Hair Color
Ask any colorist and you’ll hear some version of this: dye can take you darker or richer, but going lighter is a chemical process, not a coloring one. Box dye cannot reliably lift you more than a shade or two, and dermatologists advise staying within about three shades of your natural color when lightening at home — beyond that, peroxide levels climb and so does damage. If your goal is dramatically lighter than your natural color, that’s the one job genuinely worth a salon visit. Everything at or below your level, you can absolutely do at home.
Before You Start: The Do’s and Don’ts
Do the patch test — 48 hours ahead, every time. The main allergen in permanent dye is PPD (p-phenylenediamine), and sensitivity can develop after years of trouble-free use — the FDA’s guidance is to skin-test before every use, because formulas change and so does your immune system. Darker shades generally carry more PPD. Dab a little mixed dye behind your ear or on your inner elbow; redness, swelling, burning or itching means do not proceed.
Do a strand test for any new shade. Color a hidden half-inch section first. Box photos are a suggestion, not a promise — your result depends on your starting color and what’s already in your hair.
Don’t shampoo right before permanent color. Day-old hair is ideal: your scalp’s natural oils offer a bit of protection, and freshly washed, scrubbed scalps sting more. (One exception: deposit-only products like coloring conditioners are often applied to clean, damp hair — follow your product’s directions over any general rule.)
Don’t color an irritated, sunburned or broken scalp, and don’t scratch or brush aggressively for a few days beforehand.
Do wait at least 14 days after bleaching, relaxing or perming before using dye — stacked chemical processes are how hair snaps off.
Never use hair dye on eyebrows or lashes. No color additive is approved for that use; dye in the eye area has caused serious injuries, including blindness. This one has no workaround.
Wet or Dry Hair? The Answer Depends on the Dye
This is the most-asked beginner question, and the honest answer is “both”:
- Dry hair for permanent color and bleach. Water dilutes the mixture, weakens the developer, and fills the hair fiber so pigment can’t penetrate properly. Full gray coverage demands dry hair.
- Damp, towel-dried hair for semi-permanent and deposit-only color, toners and glosses. These formulas coat the shaft rather than penetrating it; damp hair lets them glide on evenly and gives a softer, more blended result. Expect slightly faster fading than on dry application.
The Step-by-Step
1. Set up like you mean it. Old shirt, gloves on, petroleum jelly along your hairline and ears (stain barrier), a towel you don’t love, and every tool open and within reach before you mix anything.
2. Detangle and section. Brush dry hair smooth, then divide it into four sections with clips. Working section by section is the entire difference between even color and a patchy back-of-head surprise.
3. Mix exactly as directed — and start your timer when you finish applying, not when you start. Most formulas process in 25–40 minutes. Leaving dye on longer does not make color richer; it makes damage deeper. Set a timer and respect it.
4. Apply roots-to-ends for a first full color (or ends-last if you’re only retouching regrowth — the roots process faster from scalp heat). Saturate each thin slice of hair; skimping on product is the top cause of missed spots. Most people need two boxes for hair past the shoulders.
5. Cover loosely if your product suggests it — a shower cap traps warmth and keeps the dye moist and active (that’s the real reason for “the bag on the head” — it’s about heat and drips, not magic).
6. Rinse lukewarm until the water runs mostly clear, then condition with the after-color conditioner. Skip shampoo at this rinse unless your kit says otherwise.
7. Start the clock on aftercare: wait 48–72 hours before your first full shampoo, so the cuticle settles and the color locks in.
The 6 Mistakes That Ruin At-Home Color
- Skipping the patch test because “I’ve used this brand forever.” Sensitization builds silently — see above.
- Choosing a shade from the box photo instead of a strand test and your actual starting color.
- Going more than 2–3 shades lighter with dye alone, then blaming the box for orange. That’s chemistry, not a defective product — lightening means bleach.
- Under-buying product. One box on thick, shoulder-length hair guarantees uneven saturation.
- Leaving it on “a bit longer for luck.” Over-processing is irreversible; set the timer.
- Shampooing the next morning with a harsh clarifying shampoo, then wondering where the color went.
Aftercare: Making the Color Last
Color-treated hair is thirstier hair. Wash less often (dry shampoo is your friend), choose a sulfate-free color-care shampoo, keep water lukewarm, and deep-condition weekly. Sun also fades color — a hat is genuinely a color-care product. For deposit-only color, a color-depositing conditioner refreshes the tone as it fades, which is the whole maintenance system in one step.
The Products in This Guide
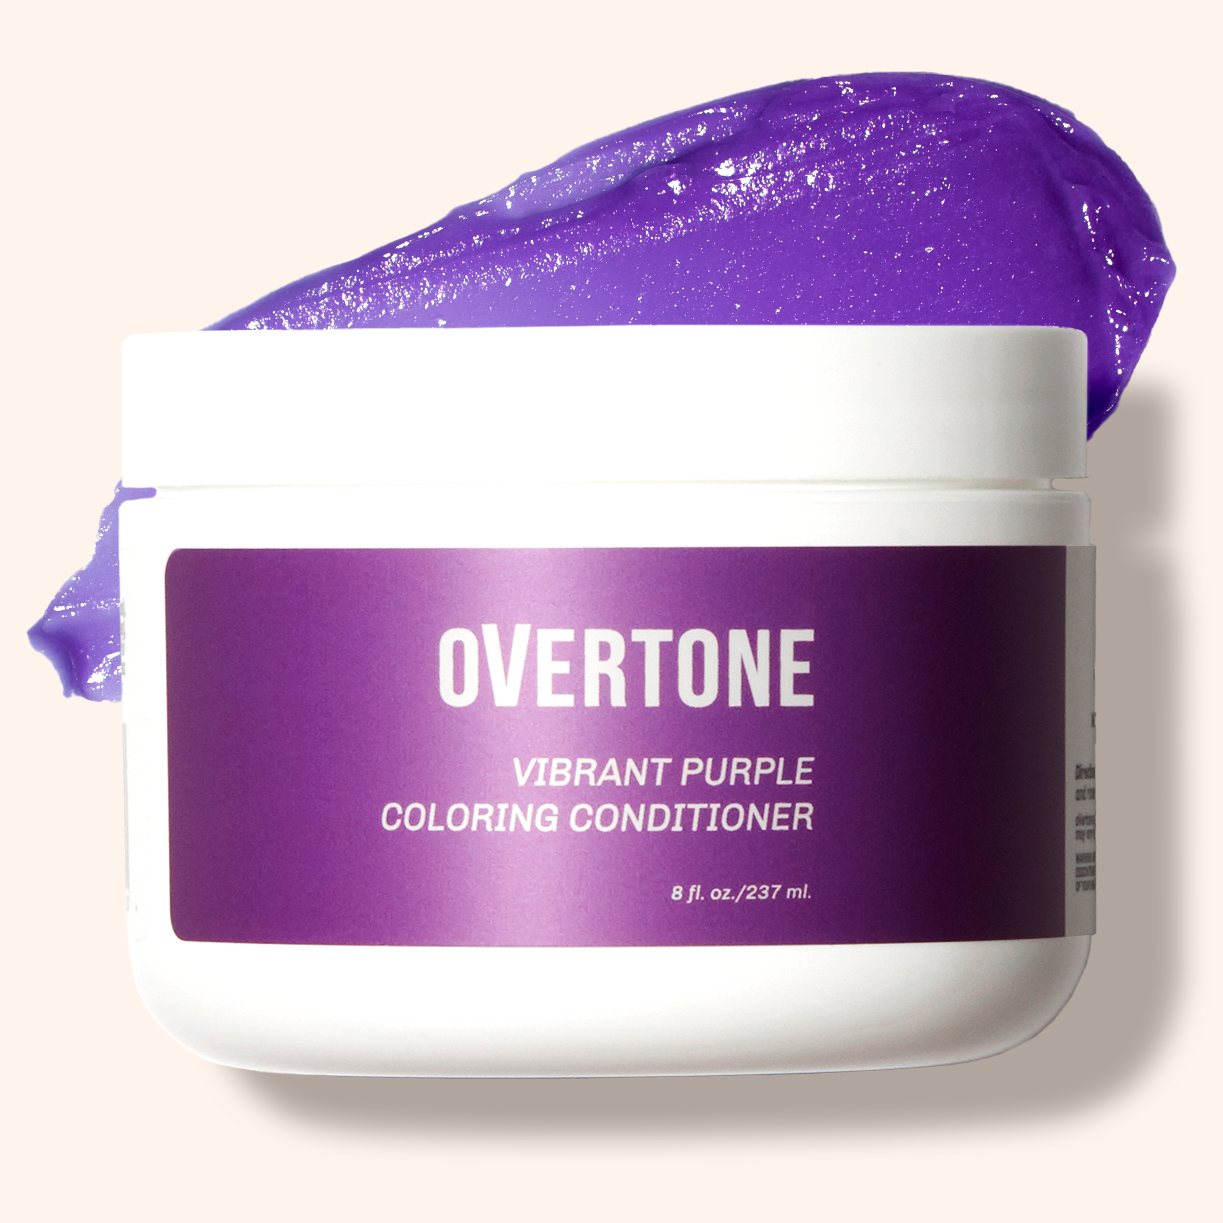
Overtone Coloring Conditioner — Our hero pick, and the beginner-friendliest way to color at home: a deposit-only coloring conditioner with no developer, no ammonia and no peroxide. It won’t lighten your hair, but for going richer, darker or more vivid — or reviving faded color — it skips nearly everything that can go wrong with box dye, and it conditions while it colors. Apply, wait, rinse.
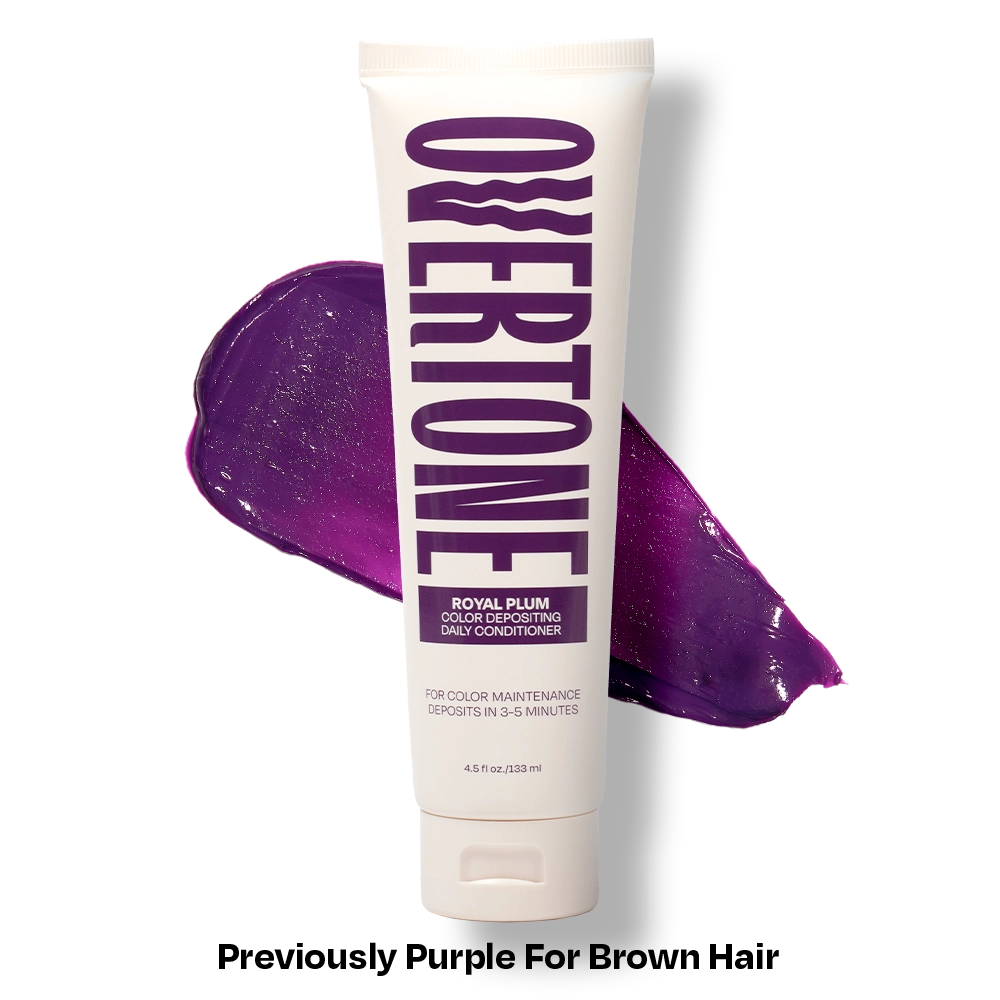
Overtone Color Depositing Daily Conditioner — The maintenance partner: a lighter deposit of the same pigment for regular conditioning, so deposit-only color fades slowly and evenly instead of disappearing in patches.
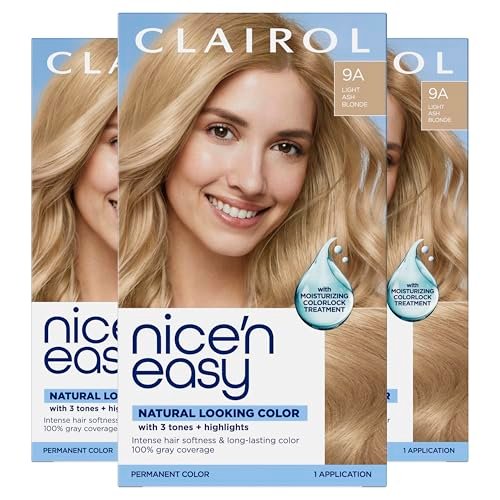
Clairol Nice’n Easy Permanent Hair Color — When the job is full, durable gray coverage, a classic permanent box dye is still the right tool. A decades-refined formula with a wide shade range — pick your shade on the product page — and an after-color conditioner in the box. Patch test, strand test, timer: the full protocol above applies.
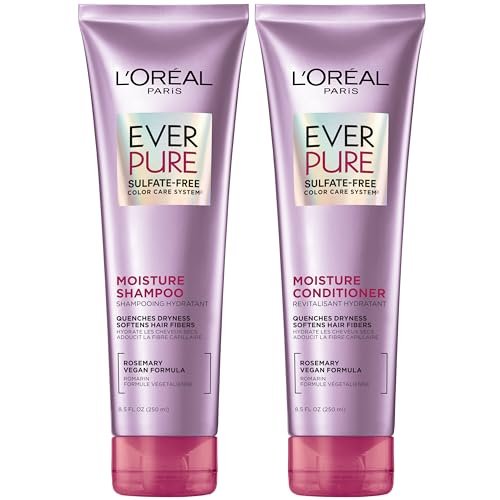
L’Oréal Paris EverPure Moisture Shampoo and Conditioner Set — The aftercare pick: a sulfate-free shampoo + conditioner set with rosemary botanicals, made for color-treated hair, that cleans without stripping fresh color. For the washes after the 48–72-hour wait.
Frequently Asked Questions
Should I shampoo my hair before dyeing it?
For permanent color, no — color on day-old, unwashed hair; scalp oils reduce irritation and the dye grips evenly. For deposit-only conditioners and toners, follow the label: many are applied to clean, damp hair.
Can I dye my hair if I haven’t washed it in 3 days?
Yes — for permanent dye, that’s close to ideal. Just make sure there’s no heavy buildup of dry shampoo or styling product, which can block even coverage.
How soon can I wash my hair after coloring?
Rinse and condition right after processing; then wait 48–72 hours before your first actual shampoo.
Does dyeing your hair make you look older or younger?
The right shade refreshes; the wrong one (too dark, too ashy for your skin tone) can harden features. When in doubt, stay within two shades of your natural color and lean warmer rather than cooler.
Why do hairdressers dislike box dye?
Mostly because of unpredictable results on hair with old color history — dye over dye doesn’t behave like dye on virgin hair — and because fixing a home mistake costs more than the original salon visit. Virgin or evenly grown-out hair, colored within its limits, is exactly where home dye works best.
Can I dye my eyebrows to match?
No. Use products made specifically for brows. Hair dye near the eyes is a documented cause of serious eye injury.
The Bottom Line
At-home color fails on process, not on product. Patch test 48 hours ahead, strand test new shades, match wet-vs-dry to your dye type, work in sections, buy enough product, and let a timer — not optimism — decide when to rinse. Stay at or darker than your natural level (or let a deposit-only conditioner do the work) and the “common mistakes” mostly eliminate themselves. Save the dramatic lightening for a salon chair, and everything else on the shelf is genuinely yours to do at home.
Sources & Further Reading
- American Cancer Society — Hair Dyes and Cancer Risk (summary of FDA safety standards: patch test before every use, gloves, never use on eyebrows or lashes): cancer.org
- U.S. Food & Drug Administration (FDA) — Temporary Tattoos, Henna/Mehndi, and “Black Henna”: Fact Sheet (PPD sensitization and cross-reactions): fda.gov
- American Academy of Dermatology (AAD) — dermatologist tips for coloring hair (choose darker over lighter to minimize damage; lightening beyond three shades needs higher peroxide volumes): newswise.com
- NHS — Hair dye reactions (test at least 48 hours before, wear gloves, never exceed the directed time): nhs.uk
- Cancer Hair Care — Sensitivity test and patch test overview (how PPD allergy works and why repeat users still test): cancerhaircare.co.uk
- L’Oréal Paris USA — Can You Dye Wet Hair? (manufacturer guidance on wet vs. dry application by formula type): lorealparisusa.com
Affiliate Disclosure
Glow & Vital is reader-supported. Some links in this article are affiliate links, which means we may earn a commission if you buy through them — at no additional cost to you. As an Amazon Associate, we earn from qualifying purchases. Affiliate relationships never determine which products we recommend; picks are based on ingredient research, formulation quality and fit for the guide’s purpose. This article is educational and is not a substitute for the instructions on your product’s packaging or for professional advice.